Quickly Navigating Python Libraries With ctags
A tutorial for using ctags to efficiently navigate Python libraries for data scientists.

As a machine learning practitioner, I often use open-source machine learning libraries, such as fastai and scikit-learn. After working with these libraries for awhile, you may reach the point where you want to do something that is not currently supported by a library (e.g., create a customized model), but you still may want to use many of the library functions. For example, I use fastai/PyTorch to design and train customized deep learning models. fastai provides a nice framework for reading in the data, so it is often the case I still want to use many fastai components, but with some degree of customization. Or perhaps you are just curious how a certain function works and want to examine the source code. In order to efficiently achieve this level of examination, it’s important that you are able to easily jump around the source code of your machine learning library of choice. Therefore, you need to choose a good code editor and know how to use it well. For users not working in a command line interface, I strongly recommend Visual Studio (VS) Code. VS Code is completely free and has some really great functions. VS Code combined with a programming tool called ctags will allow you to efficiently explore Python libraries. Here, I give a step-by-step tutorial on how to set up ctags in VS Code. It should be noted that this tutorial is designed for Windows users, but it should for the most part generalize well to other operating systems with minor modifications.
A lot of the tips I provide here previously come this blog post and from the fast.ai course, so I would like to thank these authors for laying the groundwork! I also have to admit that I am definitely not an expert at VS Code, so suggestions/comments would be greatly appreciated. Okay lets get started!
-
First, if you already do not have Python, install Python. I strongly recommend downloading Python through Anaconda.
-
Second, download and install Visual Studio Code. Again, it is completely free and is compatible with either Windows, Linux or Mac, so this should be easy enough!
-
Next, open Visual Studio Code. First, you are going to have to select Python as your interpreter. To do this type Ctrl+Shift+P and start typing “Python: Select Interpreter.” Then select the Python version and environment you want to load. Again, I often use fastai so I select the Python environment for fastai. If “Python: Select Interpreter” is not appearing, this means that Python is not installed on your system. This is an easy fix, so just follow the instructions here.

-
Now open the folder that contains the Python library that you want to easily explore (e.g., fastai). When you do this, VS Code is going to create a directory there labeled .vscode. This directory contains a JSON file labeled settings.json. Open up the settings.json file in VS Code (or any text editor). We will edit this file in a couple of steps.
-
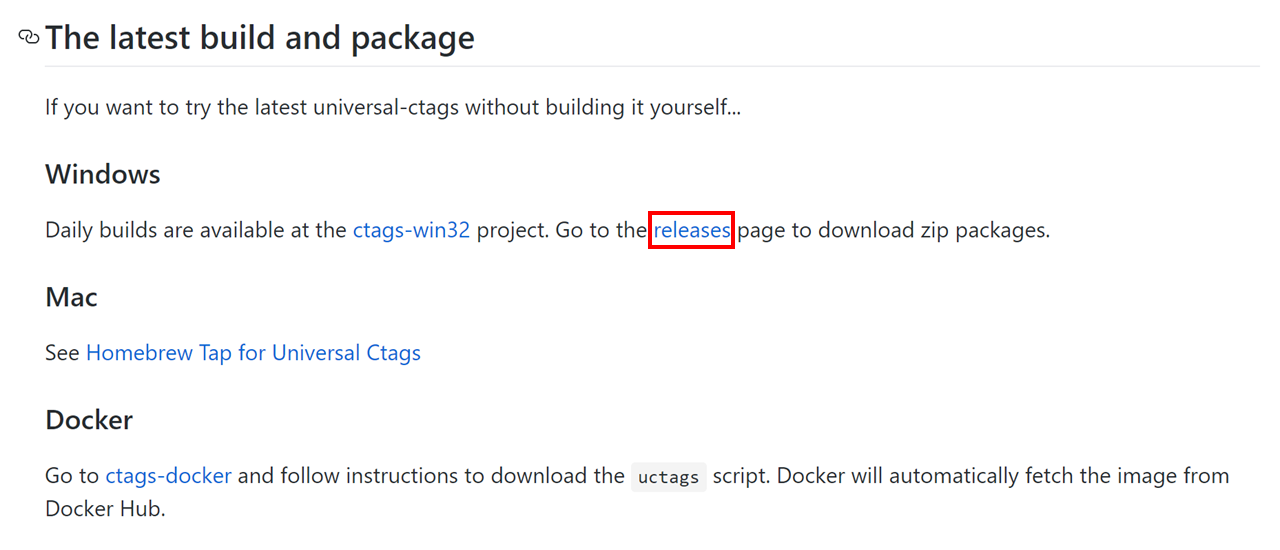
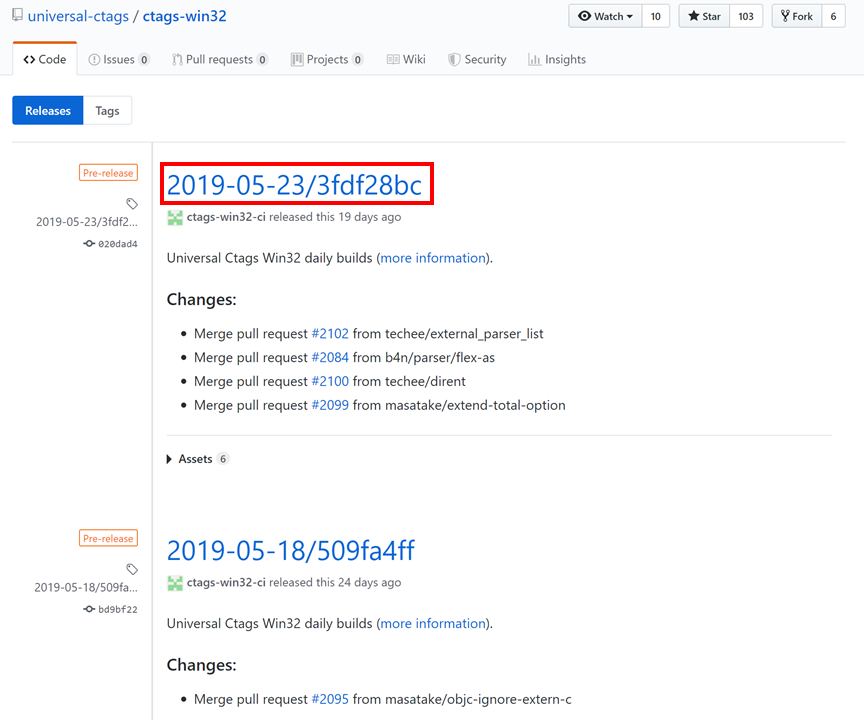
Next, you will need to download the ctags package. Ctags generates an index (or tag) file of names found in source and headers files. This is how we can quickly search through our code, by creating these tags. You can download them from this GitHub site. If you are using Windows, you can click on releases, select the most recent version, and select the zip file to download. Unzip this zip file wherever you like, but I usually just put it in the .vscode directory.


- Remember the settings.json file? You are going to need to edit it now. Already in the JSON should be a line that specifies the path to the Python executable. Now you are going to need to add a line specifying the path to the ctags.exe file. Create a new line and add the following line of code (replace LIBRARY_PATH with the path to your Python library or wherever you chose to place the ctags.exe file):
“python.workspaceSymbols.ctagsPath”: “LIBRARY_PATH\\.vscode\\ctags-2018-11-06_0f27679c-x64\\ctags.exe”
Your settings.json file should look like this:


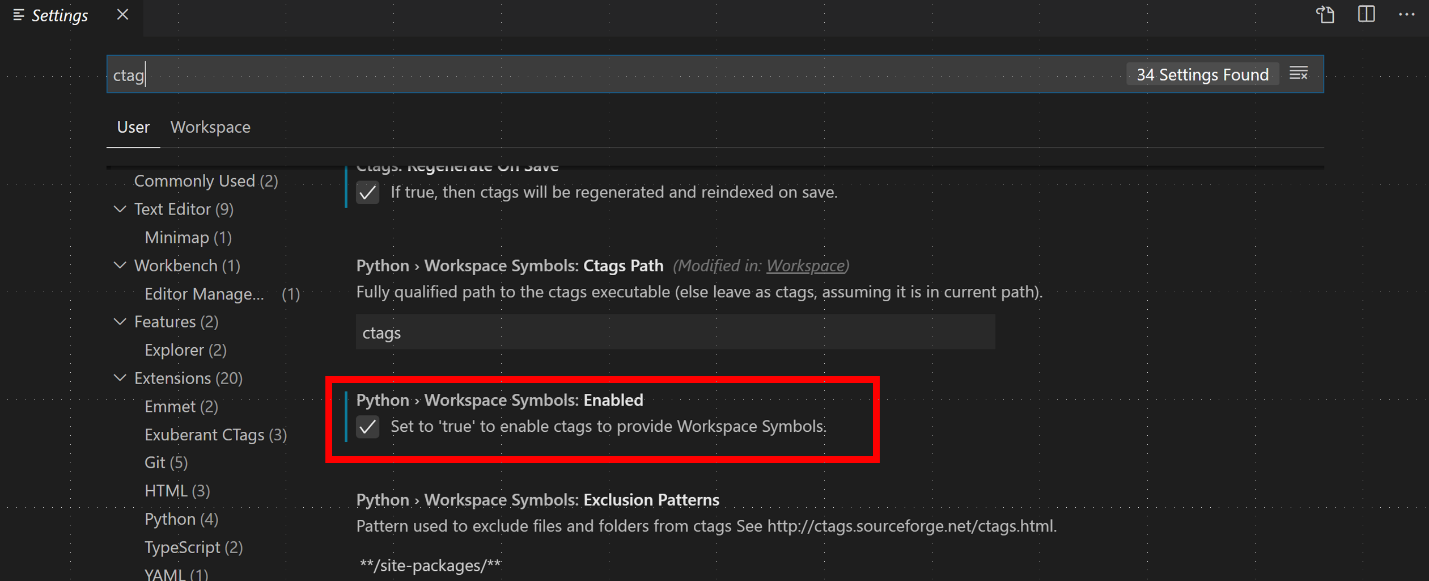
- Next, generate the tags! VS Code makes this really easy. All you have to do is type Ctrl + t. This should create a tags file, which contains all of the tags. If this does not work, open up the Terminal is VS Code, go to the Output tab, type Ctrl + t again, and see what the output says. Also, if this not working, make sure that Python Workspace Symbols are Enabled, which can be selected in the settings(see picture below):

- You can now navigate tags by typing Ctrl + t and typing names of classes and functions you would like to search. Easy enough!
What else can I do with VS Code?
The tags have been created and now are ready to be used. There are many other useful shortcuts in VS Code. Here are a few that I am shamelessly stealing from the fast.ai course:
- Command palette: Ctrl-shift-p
- Go to symbol: Ctril-t
- Find references: Shift-F12
- Go to definition: F12
- Go back: Alt-left
- Go forward: Alt-right
- Hide sidebar: Ctrl-b
- Zen mode: Ctrl-k,z
I hope you found this useful and comments/suggestions are more than welcome!